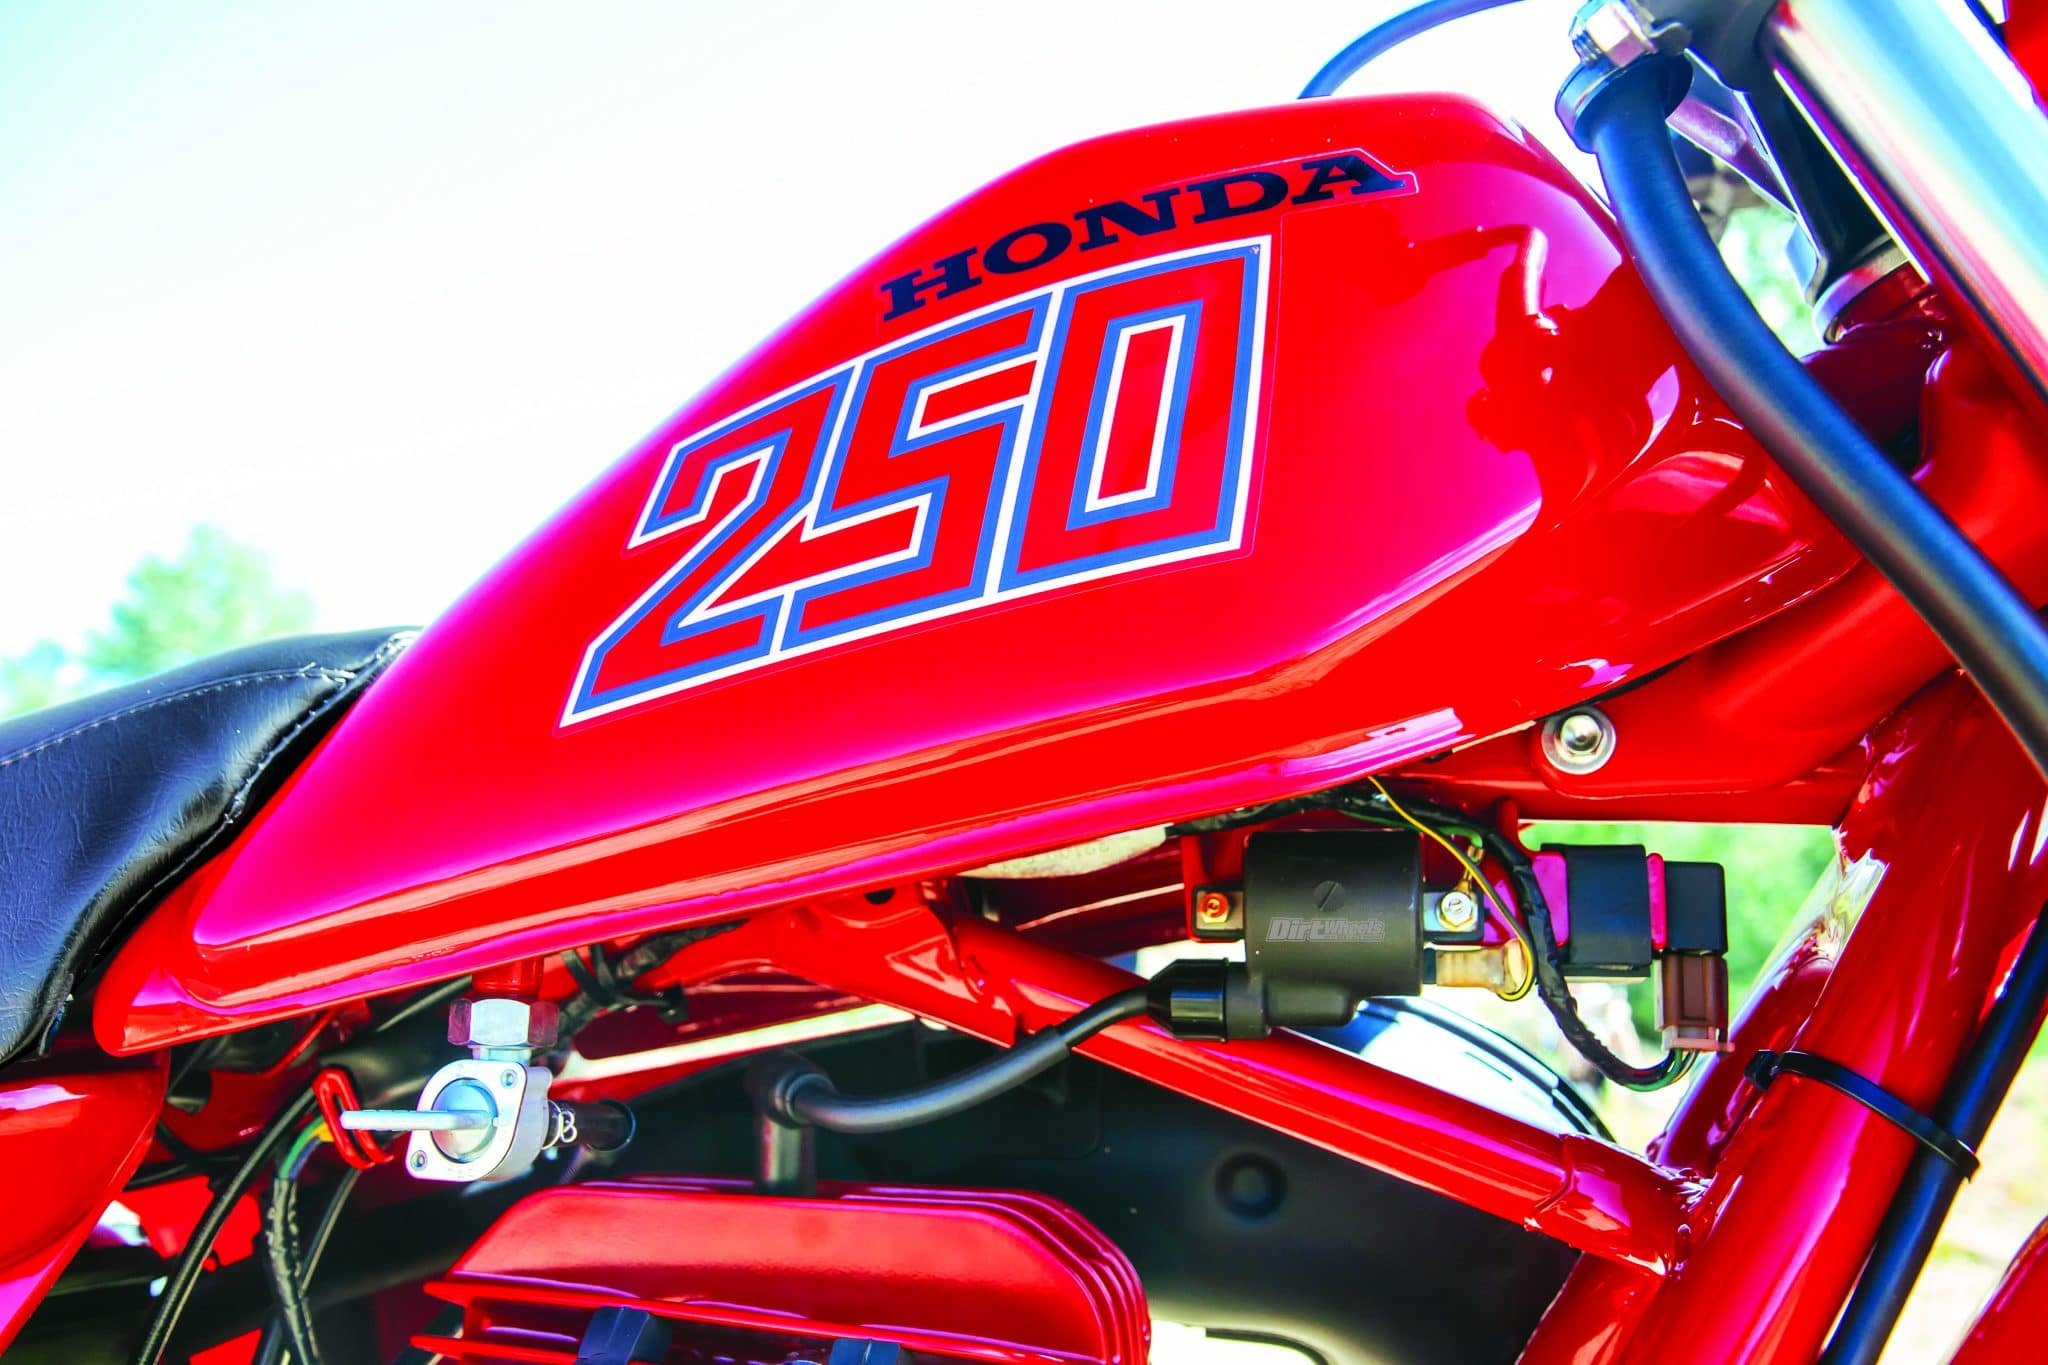
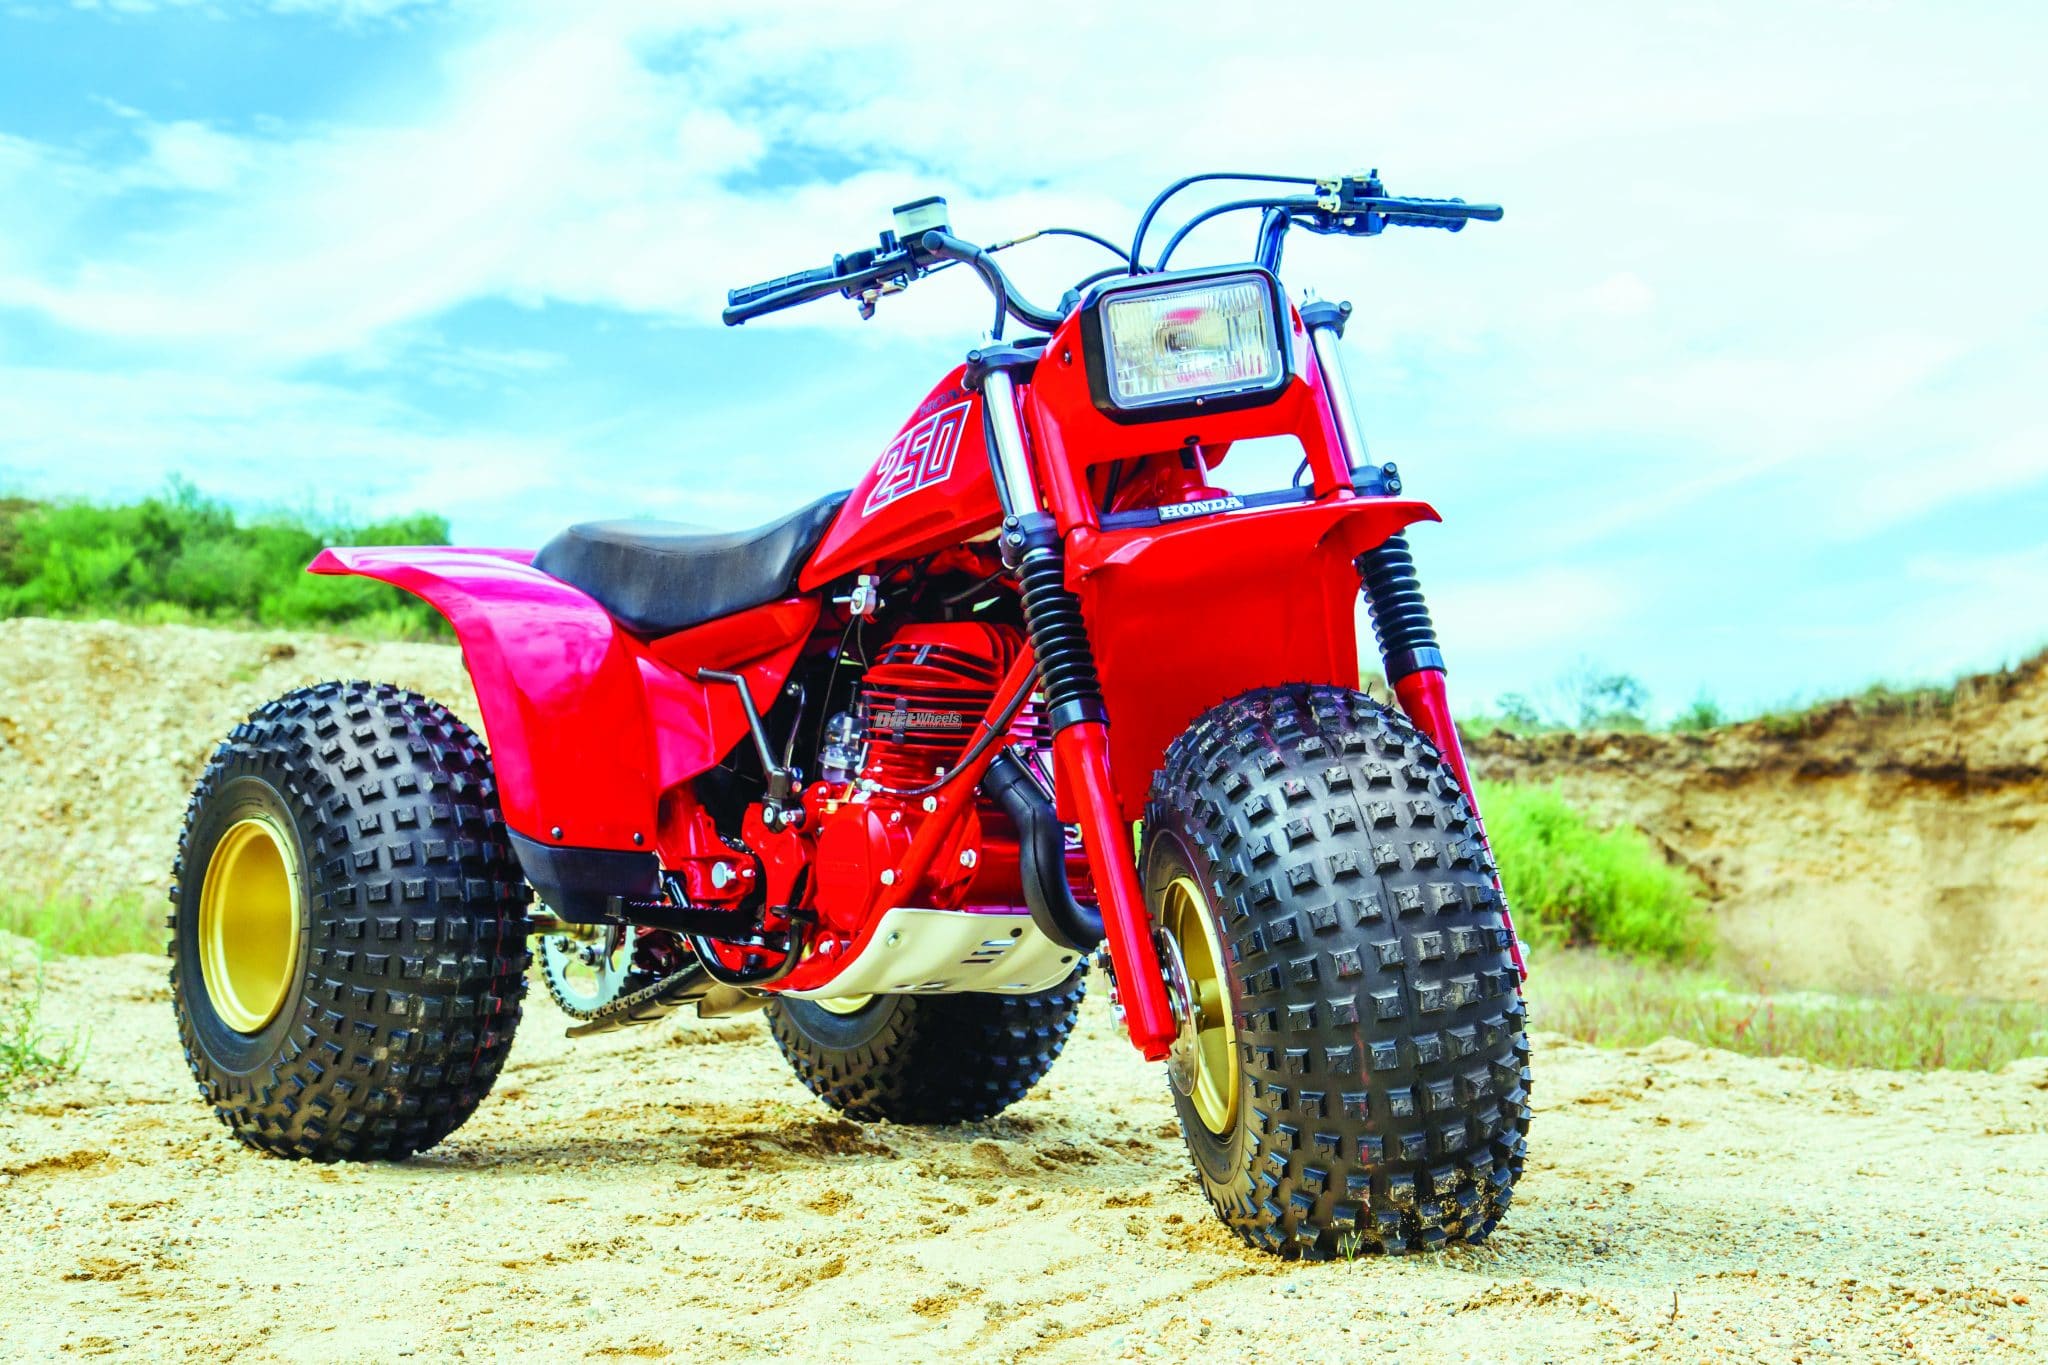
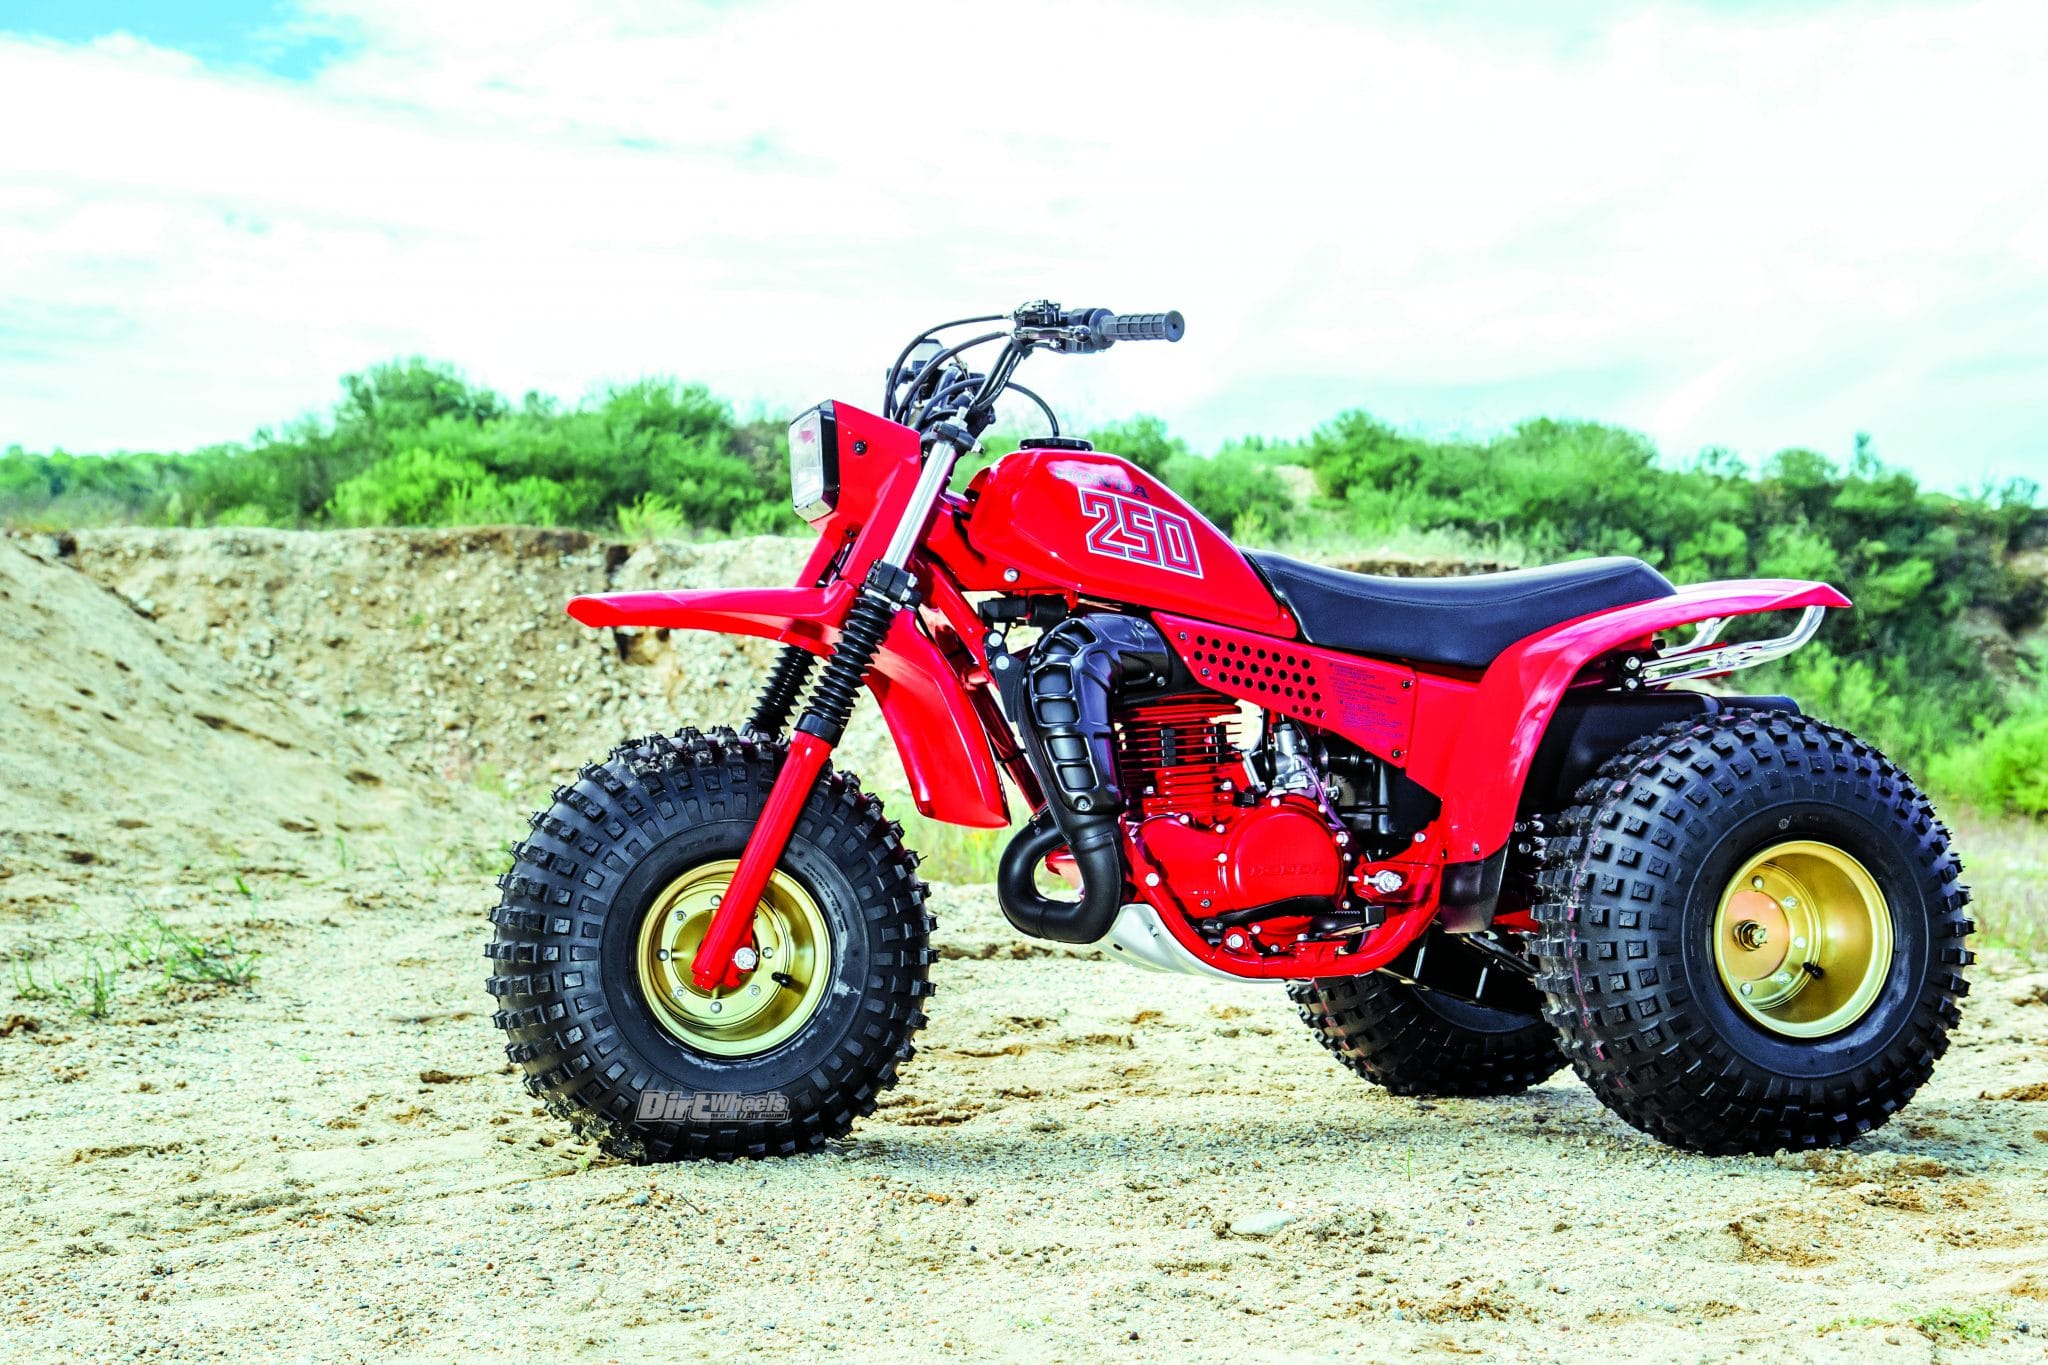
1982 HONDA ATC 250R
3-WHEELING DAZE..RESTORATION TO PERFECTION
A 1982 Honda ATC 250R reborn By the staff of Dirt Wheels, Photos by Joshua Elzey
Restoration to Perfection. Honda invented the first high-performance ATV in 1981 with the introduction of the ATC 250R, and the racing industry has evolved ever since. In more recent decades, Mike Palmgren of Vintage Motorsports Restorations (www.vintagemotorsports.net, (508) 303-5085) has been preserving and restoring Powersports machines with two, three, and four wheels.
Over the last few years we have highlighted a number of his projects after discovering one of his biggest customers is in Los Angeles near our offices. This collector opened his doors for a few hours, so we got to take a look at his prized possessions. Our most recent visit, however, ended abruptly when he shut the doors and started wiping our drool off his floor. It’s that good, and this 1982 Honda 250R is his latest acquisition. You can see the others at www.dirtwheelsmag.com.

WHAT GOES INTO A RESTORATION?
The restoration started off just like 99 percent of them do—with a donor that has lived a hard life and was ready for a revival. There are a few things to look at when picking a starting point, or a “donor bike” as they are called in the restoration world. When we say “restoration,” we are talking about returning a machine to how it was on the showroom floor. What many people call a restoration is actually a rebuild, or perhaps what hot-rod guys call a “resto-mod”—an older machine that has significant modern performance upgrades whether you can see them or not.

RESTORATION TO PERFECTION
Its condition is not as important as originality, but you are better off paying more for a bike that literally has never had a wrench on it. An amateur cosmetic restoration to make a machine look good to flip or resell may be harder to work with than something unrestored. Little pieces and parts that go missing over the years can cost you months of hunting for a replacement, and that is a big deal when it’s holding up the restoration.

RESTORATION TO PERFECTION
it’s a good, complete, all-original bike, start looking at things that are beyond repairable. For example, stay away from frames with cracks or repairs made to them. Broken plastic is common on a 30-year-old machine, but keep in mind that finding good-condition OEM plastic or near-perfect plastic is becoming nearly impossible or very expensive.
Mike Palmgren, the builder of this 1982 250R, says “I don’t like seeing machines with heavy rust on the frame and steel components. West Coast, desert-lived machines from a super-dry, hot climate are best. It’s amazing how nice metal parts can survive with no rust in those conditions.

All of Mike’s restorations start with a full teardown to the bare frame, where every single piece and component is torn down to individual parts. He tells us, “This is the point a list can be made of parts needed to move forward. Then I like to start restoring individual parts in the order I would need them during reassembly.”

THE STARTING POINT
RESTORATION TO PERFECTION
“The frame is always first. It is sandblasted down to bare steel, and the welds are inspected for damage. Bent brackets, damaged steering stops, and frame tubes that have dings or dents get repaired. Then the frame is refinished in the correct Honda red.” Mike does all paint and powder coating in-house so he can ensure it’s correct.
Next, the fork is disassembled and the lowers get blasted, and the years of nicks and dings get blended to perfection on a lathe. The lowers get refinished, and the fork is assembled with new seals and oil. For this build, he found NOS (new old stock) fork boots and clamps in the Netherlands. Steering races are pressed out, and new races and bearings are installed, while the triple clamps are stripped and refinished in the correct satin black. The same black is used for the handlebar and clutch perch. Brake master cylinders and calipers are where things get expensive and time-consuming. All of these components need to be stripped down to bare aluminum shells. Brake fluid is so damaging to paint that powder coating is the only way to go for refinishing these parts.

1982 HONDA ATC 250R
BUT THE PREP WORK IS CRAZY!
Before you can powdercoat the bare aluminum parts, holes need to be plugged and mating surfaces hand-taped. Basically, any surface you don’t want powdercoat on, or that will have clearance issues need to be covered. These get refinished in a 50-percent gloss black like factory, not super glossy. Once the parts are finished, Mike installs the internals with brand-new OEM Honda parts he sourced, such as seals, slide bushings, slides, dust covers, brake pad retainers, clear reservoir cups and caps, and correct hold-down screws. On the rear master cylinder, the push-rod and bracket get sent out for zinc plating. This is a very involved process, but the end result is like new.
Items like the wiring harness gets hand-cleaned, and if needed, connectors are removed and cleaned in an ultrasonic cleaner, then the wire covering is replaced or repaired as needed. Rubber mounts are replaced if we can locate NOS, which includes all the rubber-mounted parts on the frame and related parts.

1982 HONDA ATC 250R
According to Palmgren, “Most people think I replace all the hardware with brand-new bolts and nuts. Even if you could get certain bolts through Honda these days, they won’t have the correct markings and style that the original bolts did. Mike uses every original, plated part that came on the 1982 HONDA ATC 250R. If the machine is intact, all the bolts, brackets, rear axle, axle hubs, seat-mount clamps, triple tree hardware and engine bolts get stripped to bare metal. Every mark or nick gets worked smooth, and each is hand-polished and metal-finished. Parts are divided up into three categories or bins: clear zinc, yellow zinc and black zinc. Certain parts have specific finishes on them, and it’s important to take note what is what during disassembly. You don’t want them to get mixed up and the wrong color applied.
This machine only had one piece of chrome—the rear grab bar. It got sent out to California to have them work their magic on that. Ironically, the owner is in California, and the machine was shipped there as a completed product.

RESTORATION TO PERFECTION
Mike claims the engine is where his restorations stand out from others. Regardless of how good the engine ran when it arrived, every engine gets torn down to the bare cases and built up to brand-new factory Honda specs. If you were to look at a brand-new Honda back in the day, the cases were refinished prior to assembly. That means that if you looked at a new engine, you would be able to see the gaskets on every case mating area, as they were not painted.
Mike strips the cases (including bearings) to bare aluminum, then strips all the original paint off. He assembles the entire engine as an empty shell. All the internal, high-tolerance areas remain clean and untouched during the powder-coating process. Any outside holes in the engine get silicone-plugged, or they use a high-temp green tape to mask any open area.

RESTORATION TO PERFECTION
They hang the engine in a walk-in oven and let it cook at 450 degrees for over an hour. What this does is out-gas the aluminum. Aluminum is porous, and over the years, oil and such gets embedded inside the small pores. It’s very important to cook everything out so the new coating bonds properly and doesn’t bubble during curing. This 1982 HONDA ATC 250R engine used the same color red as the frame but in a low-gloss version. What Mike does is coat the engine with the same gloss red as the frame, then does a second coat with a semi-gloss or satin clear powder, and it drops the sheen to a perfect finish.

RESTORATION TO PERFECTION
Once cured, you literally break the engine open like a shell, and all the gasket surfaces get cleaned of any residual powder. Then it is time for reassembly. This engine was in good shape, but common wearable parts were replaced, such as all the seals and gaskets, crank bearings, transmission main and countershaft bearings, clutch plates steel and fiber. The engine cylinder was bored 0.020 inches oversized and fitted with a new piston, rings, wrist pin, bearing and clips. All outside engine hardware is replaced with brand-new Honda case screws, and the clutch release lever was re-plated zinc. Once the engine is complete, it is pressure-tested for leaks and is good for installation.

THE REST
Now, items like the gas tank and some of the steel tin parts are all stripped, bodywork done, urethane primed, block sanded and painted with Dupont (now known as Axalta) automotive paint. He shoots everything in two-stage base clear mainly for the durability. During painting the tank, Mike tells us he always shoots a test panel as well. He sends the test panel to his decal guy Bruce at Blue Line Graphics to make sure the red in the background on the 250R on the tank is dead-on to the color on the tank. It’s a little detail, but when the two are off, it looks horrible. Mike had a local upholstery shop remake the seat cover in the exact grain and type of material as stock, and Mike vinyl-dies the Honda logo on the rear afterwards.
Plastic is a huge part of the restoration, and up until a few years ago, the only way to get show-quality results was to search the world for pristine NOS plastic. NOS plastic stores have all dried up, but luckily Mike met Phil Cox from Plastic Renovations in Nevada. Talk about a craftsman! Phil can take your scratched, dirty, faded plastic and make it look like the day it was pulled from the mold. No paint or clear coat is used. All the work is done through hand-sanding and -polishing. The plastic on this ATC literally looks like the day it was new. He is a huge asset to our profession, and he is really the only guy I know who can bring old plastic back to this level. It’s crazy!

RESTORATION TO PERFECTION
NOS tires are a must on a showroom restoration. Tires and the plastic are what make a bike, but sometimes NOS tires are just not available. You need to do the best you can to mimic the original tread pattern, size and shape. This bike originally came with 22x11x8 Dunlop KT221 tires.
They used this tire on all types and brands of three-wheelers in the early ‘80s. Suzuki ALTs, Kawasaki KLTs, Yamaha Tri-Motos all used them, but for some reason no one saved any new ones. Mike has only found one in the past 10 years, but never a full set. Duro Tire is replicating a lot of the old Dunlop tires. It makes a very similar tire with the exact tread pattern, size, etc.
So, those will have to do for now. Tires are replaceable, so I always tell guys to keep looking. If we can find a set down the road, we can easily swap them over.

This particular restoration is loaded with NOS parts that Mike stocks. Items like cables, front and rear brake hoses, handlebar switches, headlight plastic, all the rubber mounts, taillight, sprockets, and so forth are all brand-new, OEM Honda parts.
Mike has been in the restoration business for over 25 years now. The challenges of finding parts are changing day-to-day, but technology is improving as well. We are finding better ways to do things. He tells us he likes to make each restoration a little better than the last. This one will be heading to the Tim Pappas collection in California.
It will wrap up his three generations of ATC 250Rs, so it will be in great company.
RESTORATION TO PERFECTION
1982 HONDA ATC 250R HIGHLIGHTS
—Air-cooled, 248cc, motocross-inspired two-stroke engine. Center-ported cylinder with a six-petal reed-valve induction system
—Gear-driven crankshaft counterbalancer for reduced vibration
—Five-speed manual gearbox
—Maintenance-free capacitor discharge ignition
—27mm slide-valve carburetor
—Double-cradle frame with front and rear suspension that was one of the industry’s first. It has 6.7 inches of travel up front and 4.3 inches of travel in the rear
—Hydraulic front and rear disc brakes
—Dunlop 22x11x8 KT221 balloon tires.
—Dry weight was right around 297 pounds
For a look back at a Euro three-wheeler click below:
https://dirtwheelsmag.com/husqvarna-3wheeler-project/
To subscribe to Dirt Wheels Magazine in print or digital form click here https://hi-torque.com/product/dirtwheels.


Comments are closed, but trackbacks and pingbacks are open.